How to Choose WordPress Plugins: A Step-by-Step Guide
Every day, we get asked for advice on how to choose WordPress plugins. While we have our favorites, it’s impossible to keep track of all the plugins available with the sheer number out there.
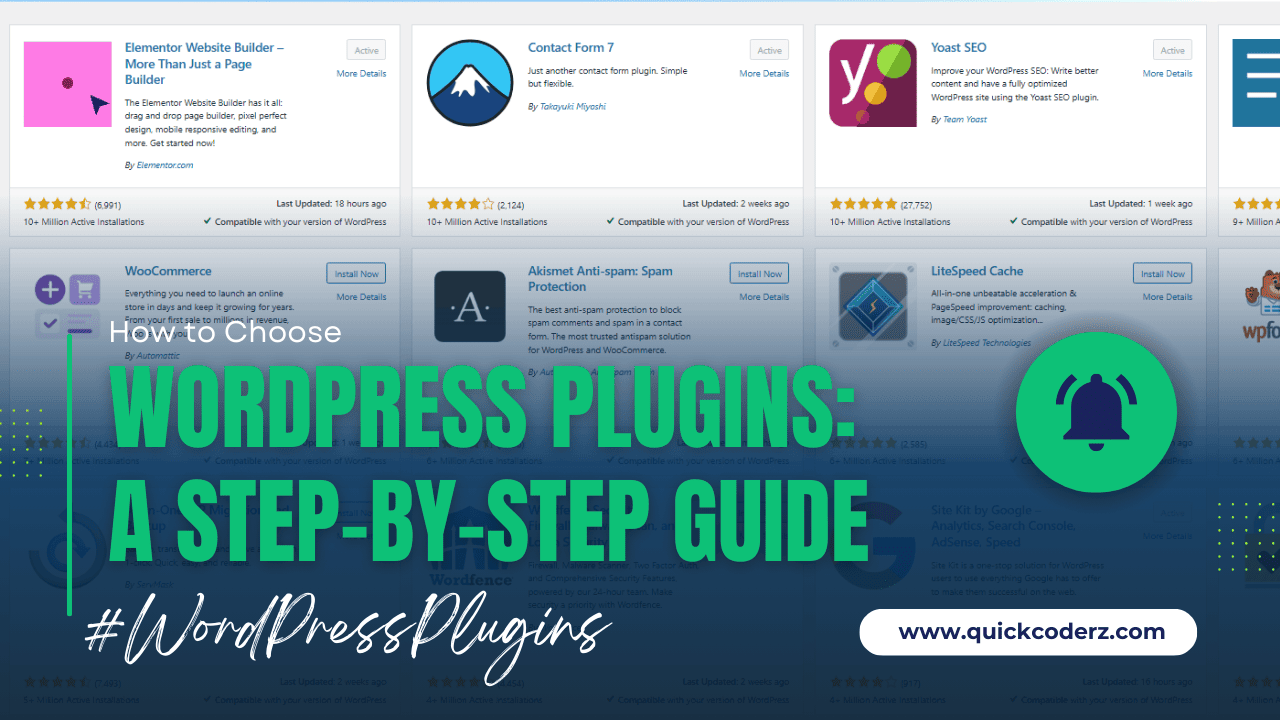
Right now, the WordPress.org repository has over 60,000 plugins—and that’s not even counting premium ones! So, trying to find the best plugin in a specific category can feel like searching for a needle in a haystack.
This can make choosing the right WordPress plugins a daunting task, but with the right steps, you can make an informed decision. Follow these five simple steps to help you choose the best WordPress plugins for your site.
Step 1: How to Choose the Right WordPress Plugins for Your Needs
Before diving into the world of plugins, take a moment to think about what you actually need for your site. Ask yourself:
- What does my site really need?
- How many features does this plugin have, and do I need all of them?
- Is this something I’ll use just once, or will I need it often?
By being clear on what you’re looking for, you can avoid getting distracted by plugins that sound cool but aren’t really necessary. For example, if you need a contact form, focus on that and don’t get sidetracked by plugins that offer features like SEO tools or social sharing unless you really need them.
Step 2: Researching How to Choose the Best WordPress Plugins
Once you’ve found a few plugins that might fit your needs, do some research! Check the reviews and ratings on the plugin’s WordPress page. Look for:
- Ratings and Reviews: See what other users are saying. If most reviews are positive, that’s a good sign that the plugin works well.
- Active Installations: This shows how many people are actually using the plugin. A larger number of active installs usually means it’s a reliable choice.
- Recent Updates: A plugin that hasn’t been updated in a while might not work with the latest WordPress version, or it could have security issues.
You can also check out blogs, forums, and video reviews from experts to get more insights about how the plugin performs.
Step 3: Ensuring WordPress Plugin Compatibility for Your Site
It’s important to make sure the plugin is compatible with your WordPress version and the other plugins or themes you’re using. A plugin that works well on its own but doesn’t play nice with other parts of your site can cause issues.
Here’s how to check:
- Look for compatibility information in the plugin details on WordPress.
- Review the plugin’s changelog to see if the developer keeps it up-to-date with new WordPress releases.
- If you’re unsure, check the support forum or reach out to the developer to ask about compatibility.
Step 4: How to Choose WordPress Plugins That Don’t Slow Down Your Site
Some plugins can really slow down your site. While a plugin may have great features, it could also be heavy on resources, which could make your site load slower. And slow sites are bad for both users and SEO.
To avoid this, go for:
- Lightweight Plugins: Choose plugins that are optimized for speed.
- Test Performance: After installing a plugin, use tools like Google PageSpeed Insights or GTmetrix to see how it impacts your site’s speed.
If the plugin slows down your site too much, you might need to consider an alternative or optimize your site with tools like caching.
Step 5: Selecting WordPress Plugins with Excellent Support and Documentation
If you run into any issues, you’ll want good support and clear documentation. This can make a big difference, especially if you’re not an expert in WordPress.
Look for:
- Support: Does the plugin have an active support forum? How quickly do they respond to user questions?
- Documentation: Is the documentation clear and easy to follow? The better the documentation, the easier it will be to set up and troubleshoot the plugin.
A plugin with solid support and documentation is usually a good sign that it’s well-maintained.
Step 6: How to Test WordPress Plugins Before Installation
Before adding a plugin to your live site, always test it on a staging site first (a test version of your website). This helps you:
- Ensure it doesn’t mess with your existing plugins or theme.
- Test how it works in a safe environment.
- Spot any bugs before they affect your live site.
Testing before going live will save you from potential disasters and ensure everything works as expected.
Step 7: Choosing Secure WordPress Plugins for Your Site
Security is a huge concern when it comes to plugins. Poorly-coded, outdated, or malicious plugins can leave your site open to hacking or malware.
Here’s how to stay safe:
- Choose Trusted Plugins: Stick to well-reviewed plugins from reputable developers.
- Look for Security Features: Some plugins offer extra security features, like malware scanning or firewalls. These are great for added protection.
- Run Security Audits: Periodically check for known vulnerabilities in your plugins with tools like WPScan.
- Avoid Overloading Your Site: The more plugins you have, the more potential security risks you face. Uninstall plugins you don’t need and only keep the essential ones.
Don’t leave it to chance—ask for advice from trusted experts around you. If you don’t have a go-to group for recommendations, feel free to reach out to our team. We’re happy to help and you can contact us anytime.